MIXING THE LIMEWASH
Now, let’s create some magic with Limewash!
Our European Limewash is rich and concentrated, perfect for achieving that beautiful, cloudy, mottled appearance showcased in our color swatches. We employ a three-layer technique to enhance this effect. The first layer is thinned with 25% water, and each subsequent layer is further thinned to develop transparent color layers that bring depth and character to your surfaces. It’s a simple process, and we’re here to guide you through every step!
Let’s go!
LIMEWASH IS THICKER THAN ORDINARY PAINT
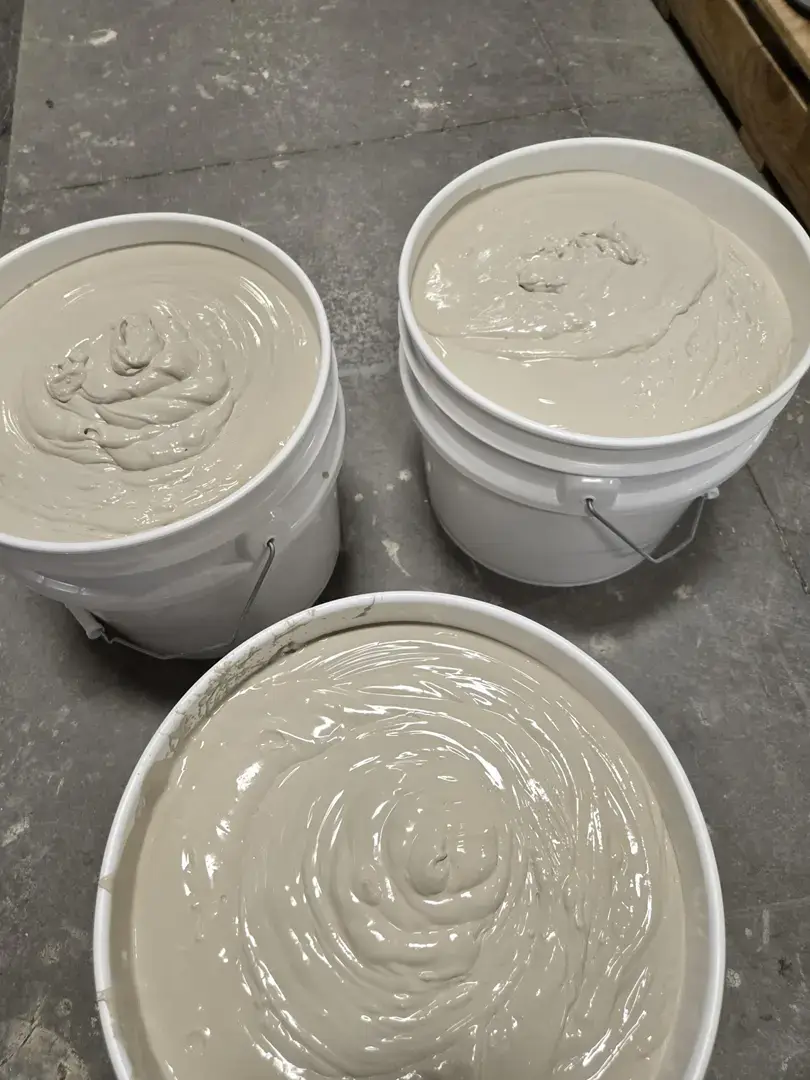
When you open your Limewash, you’ll immediately notice its unique, thicker, and “puffier” consistency compared to traditional paints. This is due to lime’s nature as a moisture-sensitive binder, which expands in humid conditions. The curing process relies on CO2 and moisture from the air, resulting in a beautiful chemical bonding that enhances durability.
It’s common for some buckets to have a slightly different thickness, and this is perfectly normal. Being a natural product, Limewash is more affected by temperature and humidity fluctuations than synthetic paints. Upon delivery, you might observe some minor color separation due to shipping. If you find that the color isn’t consistent, a simple fix is to use a drill with a paddle mixer or a sturdy stir stick to reblend it.
Remember, a bit of color variation is part of Limewash’s charm, as the final finish embraces a delightful, variegated effect rather than a flat, single-tone appearance.
A few streaks of color can enhance the effect!
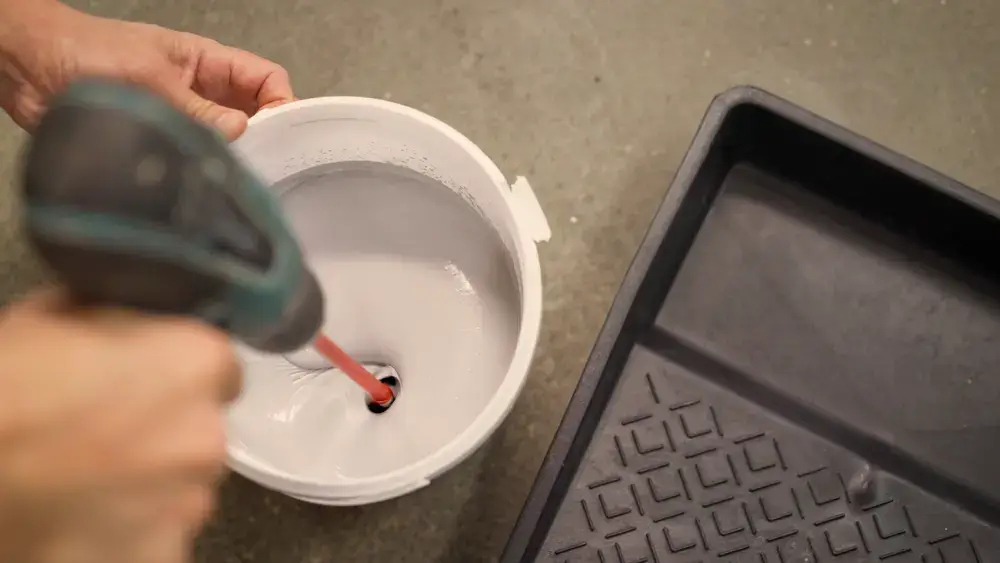
CLEAN TAP WATER IS ALL YOU NEED
For the perfect application of our Limewash, begin by blending it with clean, fresh tap water. A great ratio to remember is 25% water to Limewash. So, if you’re mixing 1 gallon of Limewash, simply add in 1 quart of clean tap water.
Thoroughly mix the Limewash and water together until every drop of water is seamlessly incorporated. Once you achieve a smooth consistency, your Limewash is ready to bring beauty and character to your space.
Get ready to transform your surfaces with ease and confidence!
FOR A PERFECT LAYERED FINISH, JUST ADD WATER TO EACH NEW LAYER!
To achieve that perfect, layered finish you’ve been dreaming of, don’t forget to add a splash of water with each new layer of Limewash! This technique creates a stunning, textured look that transforms your walls into works of art.
Our favorite method involves applying three distinct layers, ensuring each one is fully dry before moving on to the next. This not only enhances the depth of color but also adds to the uniqueness of your finish. While we offer some guidelines on how much water to mix in, remember, you’re the artist here! Feel free to experiment and let your creativity shine. Whether you choose to follow our suggestions or explore your own path, there’s no right or wrong way to achieve a breathtaking Limewash effect.
For that textured “stucco-like” look, try applying the first layer without water, using a roller for a distinct finish. Or, if you’re after those dramatic “brush marks,” opt for thicker Limewash applied with a specialized Limewash Brush.
For our technique we use these guidelines.
| Limewash | Size | Water added |
|---|---|---|
| Base Layer | Gallon | 1-quart |
| Second Layer | Gallon | 2-quarts |
| Third Layer | Gallon | 3-quarts |