CREATE SOMETHING BEAUTIFUL
It’s your time to unleash your creativity!
The real fun begins here. As the artist, let your creative energy guide you toward a stunning and personal result. Remember, there’s no right or wrong way to create. Limewash celebrates imperfection, embracing uniqueness and individuality. Consistency and perfection are not your goals today.
Now, let’s get ready to paint!
PUT DOWN YOUR BASE LAYER OF LIMEWASH
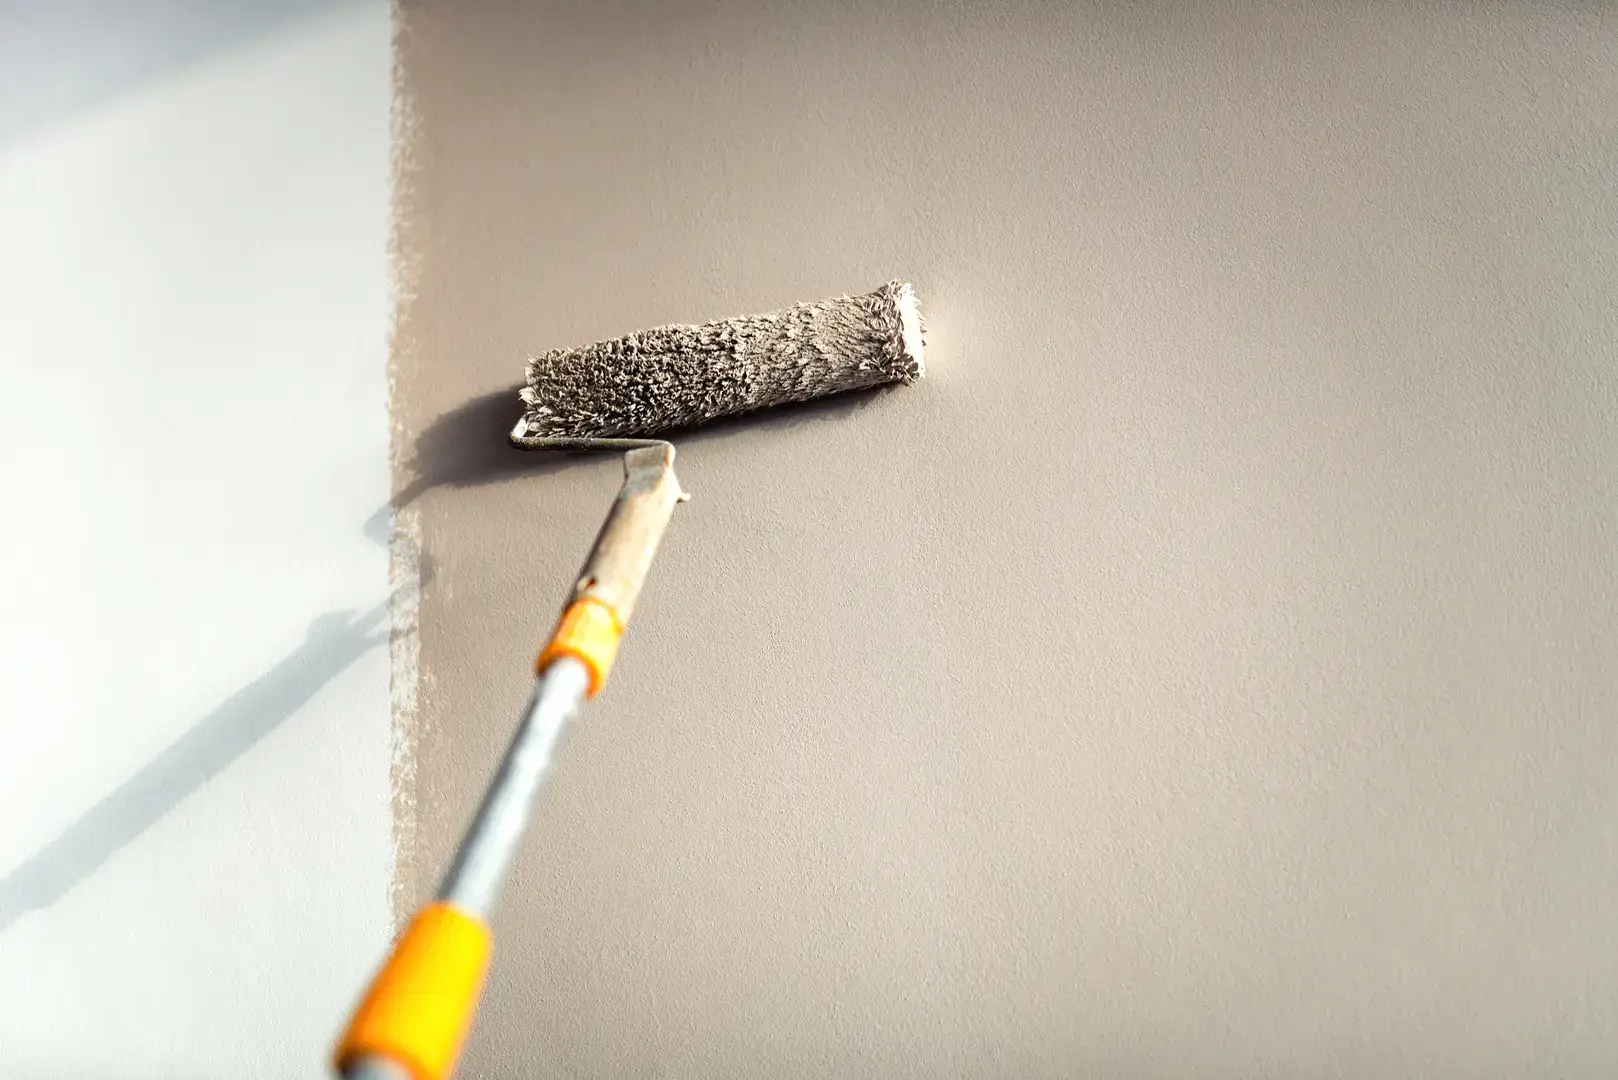
The first coat of Limewash is typically applied by brush and roller to provide a uniform base layer of color over the mineral primed wall or ceiling. Use a paint brush to cut in the edges of your wall, around trim, windows, doors, etc. Then apply a uniform layer of limewash using a 3/8”- or ½”-nap roller to completely cover the wall. Avoid runs, drips, or sags.
You will immediately notice that Limewash dries to a lighter color than when wet, and it will dry unevenly at first, with some areas remaining wet for much longer than others. And it is acceptable to have non-uniform coverage and thickness. Those differences will give your finish character and “patina”.
You may also be surprised to find that the first layer of Limewash appears more uniform, even resembling ordinary paint, when dry. The magic happens in the layering you will do later.
Allow the first coat of Limewash to dry 2—4 hours (or overnight if your rooms are cool and humid). If you apply a new layer before the base dries, you will rewet and potentially “lift” the base layer.
You don’t need to be perfect!
IT’S TIME TO START LAYERING LIMEWASH
SECOND TRANSPARENT LAYER
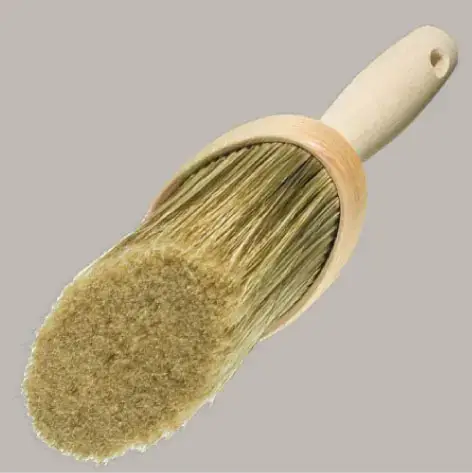
Using the right brush is essential to this technique. The PRO Limewash Brush is designed specifically to apply translucent layers of Limewash in a random pattern. The oval design lets you blend patterns without “edges” to the patterns. You may also use the DIY Limewash brush very effectively.
Remember, you have now thinned your Limewash with 25% more water (see mixing instructions), so this layer is more transparent. We like to start at the ceiling in a corner and work down and across the wall in a diagonal. If you work up and down or left to right, the finish can appear a bit like basketweave.
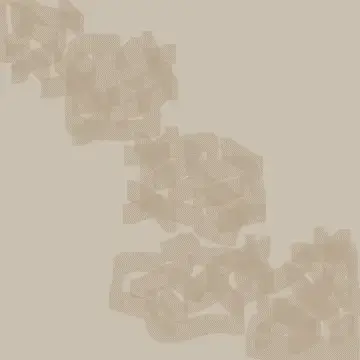
Working diagonally fools the eye, and variations in pattern are less noticeable. Dip your brush into the Limewash and completely unload all the paint before reloading the brush. For this layer, you want some areas to be thicker and others thinner and “drier”. This achieves a very subtle texture and enhances tonal variance. Maintaining a wet-edge is not necessary.
PRO TIP: Keep a spray bottle filled with water handy—if your pattern is drying too quickly, mist the base layer and brush it onto the damp surface. If you notice a build-up of Limewash in one area, mist it lightly with water and use your brush to redistribute it.
Let this layer dry for 2—4 hours before adding more layers.
In this step, being random is perfect
THIRD TRANSPARENT LAYER
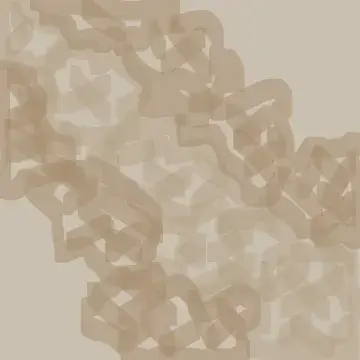
Now that your second layer has dried, it’s time to add about 25% more water to your Limewash mix and start layering again. We like to follow the same pattern and work diagonally, filling in areas above and below, as we move across the wall. You will use the same brush and random technique. Some think the use of an “X” pattern makes this technique easier to achieve, but we prefer a more sweeping pattern without the “Xs” for a subtle, more swirled cloudy look.
This time, you are filling in areas that were not covered in the second step and overlaying a third layer elsewhere. Ultimately, you aim for fewer layers and more surface layers to achieve the most dramatic tonal variation. Remember, too, that darker tones will be more dramatic, while whites and off-whites will show far less tonal variation.
Again, you will note your new layer will be much darker than the dried layers, but as it dries, it brightens to the final color. Again, use the spray bottle to wet edges and help redistribute Limewash, even if it has dried a bit.
Step back to admire and critique your work regularly. You will become excited by the complexity in the finish that is emerging, and you can check to be sure you love the pattern. Some love to see “rivers” of color flowing across walls, while others prefer a more patchy pattern. You are the artist, make the process your own.
Now let the surface dry overnight, wash your tools and sit back to let your masterpiece dry fully. To judge your handiwork, check out your walls in morning light, and again at dusk. You will see how Limewash changes appearance as the room’s light changes. And you can add even more drama by spotlighting sections of your wall with lighting.