LET’S EXPLORE SOME ALTERNATIVE LIMEWASH TECHNIQUES
Let’s create some genuinely unique finishes!
You have already seen the immense flexibility of Limewash to create a truly unique environment. We’ve shared our favorite three-layer “cloudy” technique, now we’d love to share even more creative ways to employ Limewash in your home.
Let’s embark on a journey to find you the perfect application technique!
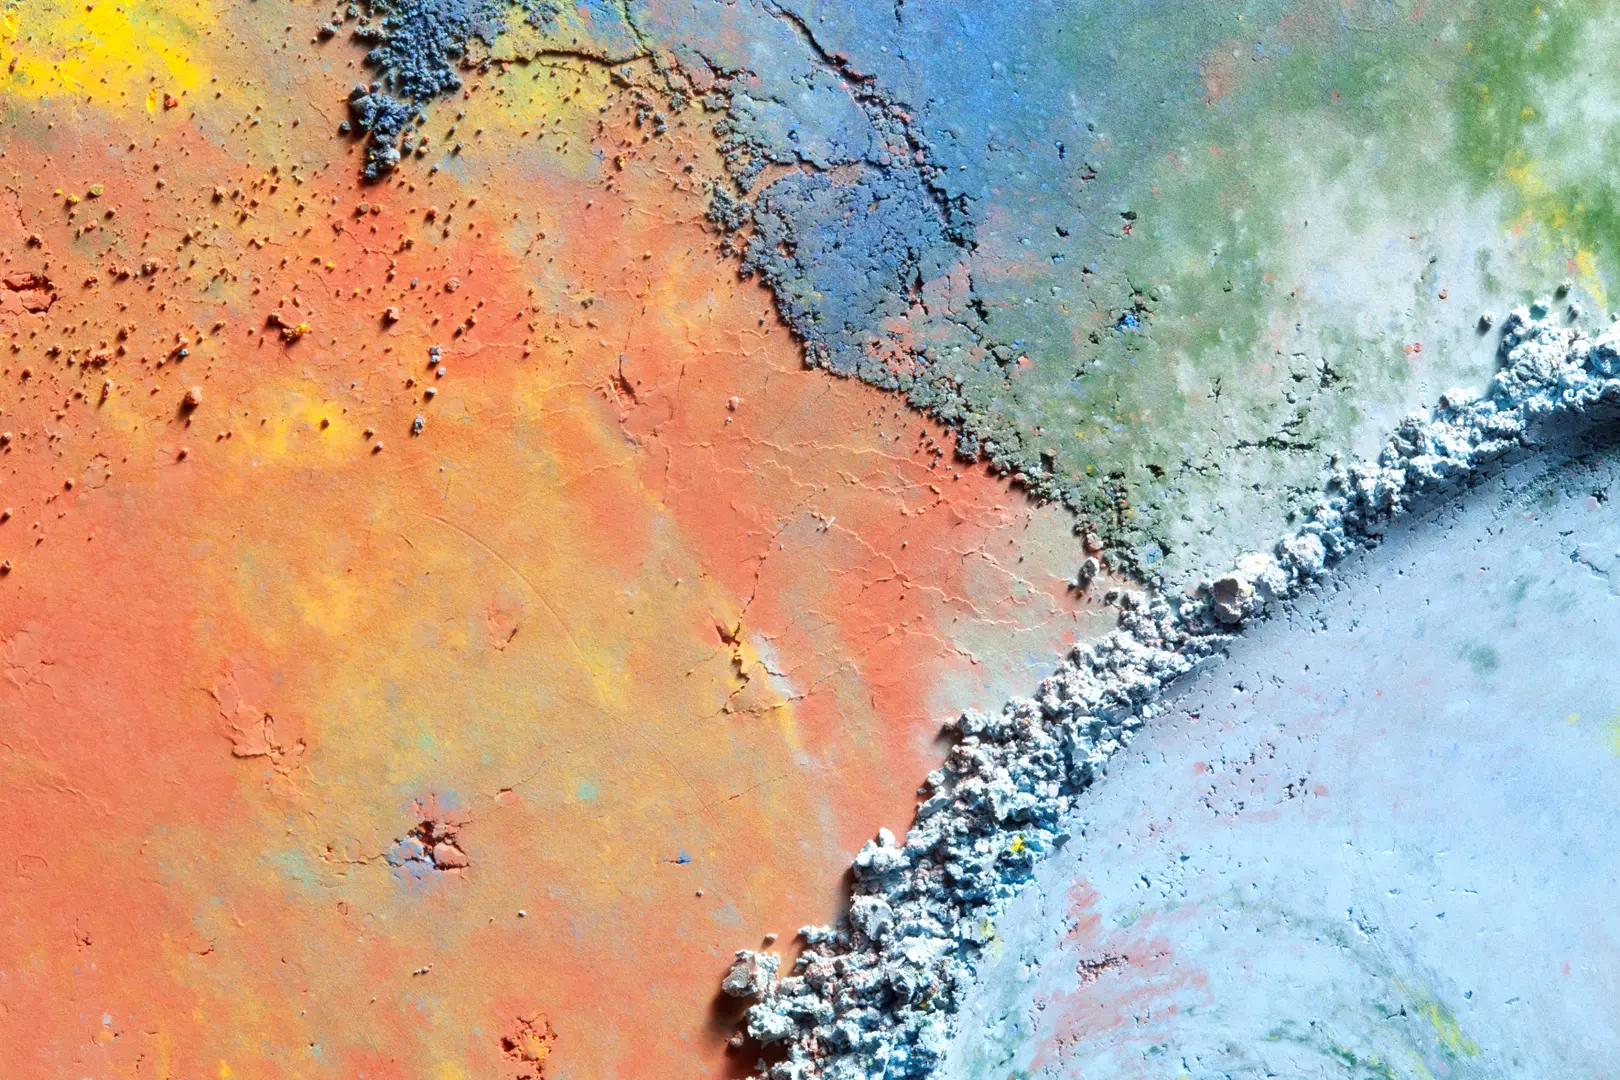
In this design approach, we intentionally layer contrasting colors to enhance the visual depth of Limewash shades. One of our favorite techniques is to begin with a darker tone for the base layer and then apply a lighter hue—either within the same color family or a different shade altogether. White is often chosen for the translucent top layers, which creates a beautiful lime “bloom” effect, giving surfaces a charming, old-world aesthetic with the illusion of lime deposits.
For this project, we started with Limewash Color LW 9183, a dusty rose hue, as our base. This was diluted with 25% water and brushed onto the surface with the PRO Limewash Brush, allowing it to dry completely. Next, we created a transparent chalky white by mixing Limewash Color LW 9870 with an equal part of water, achieving a 100% dilution. Using the same brush, we applied this mixture in swirling patterns to produce a dreamy, cloud-like effect, ensuring about 25% of the base color remained exposed.
After it dried, we spot applied a third layer to roughly half of the surface. The result is striking—where the base layer is prominently visible, and the brightest areas showcase the full impact of the dual LW 9870 layers. We’re simply enamored with this effect!
Next on our agenda is exploring a sky blue with fluffy white clouds—perfectly suited for a nursery ambiance!

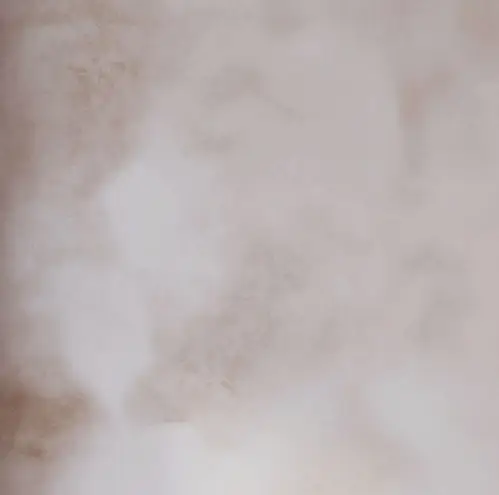
If the sample on the left displays too much contrast for your taste, consider using the wet-on-wet technique, where several shades of Limewash are brushed together simultaneously. This blending of two colors not only enhances the visual depth but also creates the illusion of many more shades as the hues mingle harmoniously, resulting in charming yet subtle effects.
In this project, we selected a base color of Limewash LW 20302, a refined mid-gray, and paired it with a warm white LW 12205. We began by applying LW 20302 as our base layer, thinning it with 25% water to achieve a smooth, even application. After rolling it on, we allowed it to dry overnight. Next, we enhanced the mid-gray LW 20302 by adding an additional 25% water and diluted LW 12205 by 50% too. Working in sections of about 4 feet square, we used the PRO Limewash brush to apply the warm white, covering approximately half of the area. While still wet, we blended in the gray, intentionally leaving some spots more white while allowing the gray to stand out in others.
When blending adjacent 4 foot square areas, we used a misting bottle to allow us to blend hard edges away by rewetting already applied Limewash.
As shown above, in certain areas, the two colors merged beautifully, creating a spectrum of lighter and darker grays. The final effect brings the colors together in a more harmonious way, creating a soft, nuanced finish with reduced stark contrasts.
Enjoy the beauty and variation this technique offers to your space!
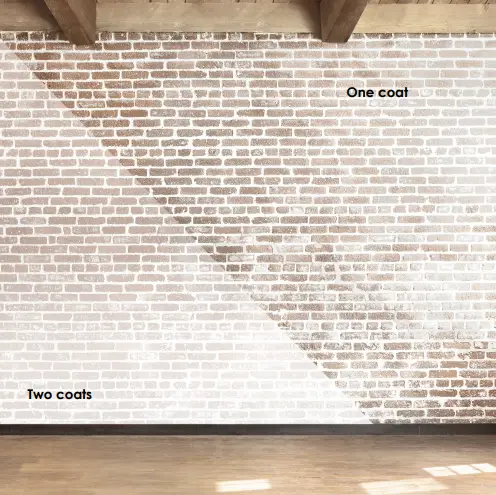
Transforming your brick, stone, or masonry surfaces with Limewash is an exquisite way to enhance their softness while retaining their unique character and inviting texture. Before you dive in, it’s essential to confirm that your masonry is porous and not sealed. Start by cleaning the surface thoroughly to remove any dust or debris. You can test its porosity by misting a small area with water; if the surface darkens as it absorbs the water, you are ready to proceed with Limewashing. If the water beads up, it indicates a repellent sealer is present, which will need to be removed—feel free to reach out to us at info@keim.com for assistance with non-porous masonry.
Once your test confirms the surface is absorbent, it’s time to mix your Limewash. We suggest combining 1 part Limewash with 1 part water, or for a more transparent finish, increase the water ratio to 2 parts. Always conduct a small test to ensure you’re happy with the mixture before applying it to your entire project. Remember, the Limewash mixture will be quite runny, so be cautious to protect any surfaces that you don’t want to get splattered.
For the application, we recommend starting at the bottom of the wall and working your way up to the ceiling. This technique allows any drips from above to blend nicely into the wet Limewash below. Begin by misting the section you’ll be painting to encourage capillary action, which helps draw the Limewash deeper into the surface. Use a Limewash Brush or a 3/8” nap roller to apply the Limewash, ensuring that you push the mixture into all crevices and mortar joints for a seamless finish. If the initial layer appears too transparent, feel free to apply a second coat for added coverage and vibrancy.
Once applied, allow the Limewash to dry for approximately 4 to 6 hours before evaluating its final look. Keep in mind that while Limewash can appear very transparent when wet, it dries to a beautifully opaque, chalky finish. If you desire more color, don’t hesitate to add another layer.
In case the whitewash turns out too intense, you have time to adjust it! Within 24 hours, lightly mist the whitewashed areas with water, then use a damp microfiber cloth to gently buff away some of the opacity for a a less opaque finish.
Conversely, if you find the finish too transparent, apply an additional layer of Limewash and allow it to dry for 4 to 6 hours for the best result.
Limewash is the ultimate solution to brightening and enhancing the natural beauty of your masonry!